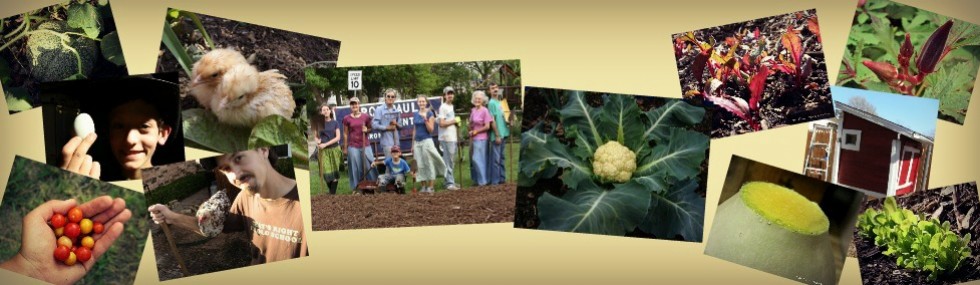
Seed starting and planning
Ever since the end of December I knew it was time to start thinking about getting seeds started, especially for onions, and I never got around to it in December. But, today, I finally got my seeds started (the ones that needed to be). What a relief! Yesterday, Joel, Abby and I went to North Haven Gardens, here in Dallas, and got some onion sets and seed potatoes. We already had plenty of seeds from the past couple of years, so we didn’t really have to purchase any seeds this year. After running some errands in the afternoon, we came home, and worked on creating our own seed starting pots, out of paper. With the help of my three siblings, we made 48 paper pots – a bit time consuming, but quite easy. Using paper pots is cheaper (basically free, compared to ~$10 per flat at your local home/garden store), you can make your own, and they are biodegradable, so you can place them directly in the ground when it’s time to plant your seedlings outside.
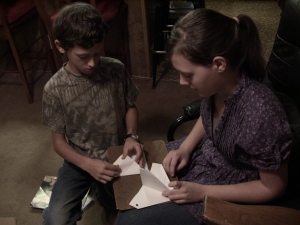
Jaden and Johanna work at making paper pots.
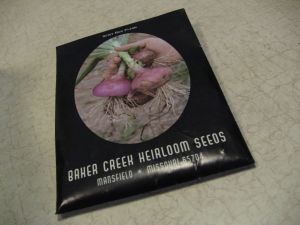
A packet of onion seeds from Baker Creek Heirloom Seeds Company.
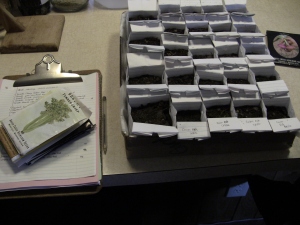
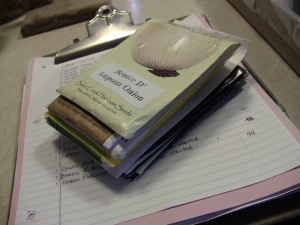
Seeds, a note pad and pots.
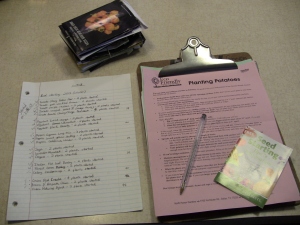
Taking notes
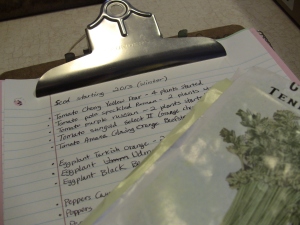
Notes on seeds starting spring 2013

Waiting…
This morning, I woke up, and there were snow pellets on the ground, cars and house roofs. It didn’t stop me from going out, and getting my newly created paper pots filled with soil. I then came inside – where it was WARM!! – and put seeds in each pot. Got them moistened (which you have to keep that way until they sprout), and put by a window. Below is a list of the seeds I started:
Now, to make sure to keep them moist, and ventilated so they don’t mold, and hope and pray that they sprout and grow up to be strong plants which give us lots of produce!
If you want to know how we made our paper pots, click here. I’ve made a little tutorial about it. Enjoy!